
金属材料拉伸、剪切、粘合力试验机 可对橡胶、塑料、塑胶、无纺布、纺织、尼龙、纤维、纳米材料、高分子材料、复合材料、包装带、纸张、电线电缆、光纤光缆、安全带、保险带、皮革皮带、鞋类、胶带、聚合物、弹簧钢、轴承钢、不锈钢(及其它高硬度钢)、铸件、钢板、钢带、有色金属、汽车零部件、合金材料及其它非金属材料和金属材料进行拉伸、压缩、弯曲、撕裂、90?剥离、180?剥离、剪切、粘合力、拔出力、延伸伸长率等试验。
金属材料拉伸、剪切、粘合力试验机 主要技术指标:
序号 | 项目 | 参数 |
1 | 最大试验力 | 0-300KN |
2 | 准确度等级 | 1级 |
3 | 试验力示值允许误差极限 | 示值的?1%以内 |
4 | 负荷测量范围 | 满量程的2%~100%FS |
5 | 试验力示值分辨率 | 最大试验力的1/200000 |
6 | 变形测量范围 | 2-100%FS |
7 | 变形示值误差极限 | 示值的?0.5%以内 |
8 | 变形分辨力 | 最大变形量的1/200000 |
9 | 位移示值极限误差 | 示值的?0.5%以内 |
10 | 位移分辨率 | 0.01mm |
11 | 恒位移控制调节精度 | 速率<0.1%FS时,为?2%设定值以内;速率>0.1%FS时,为?0.5%/?1%设定值以内 |
12 | 位移速度调节范围 | 0.05-300mm/min |
13 | 位移速率控制精度 | 速率<1mm/min时,设定值的?1%以内,速率≥1mm/min时,设定值的?0.5%以内 |
14 | 有效拉伸空间距离 | 700mm |
15 | 设备主机外形尺寸 | 长?宽?高=850?650?1900(mm) |
16 | 软件及用户界面 | WINDOWSXP操作环境下的软件和交互式人机对话操作界面 |
17 | 电源、功率 | 220V,50Hz、1000W |
18 | 重量 | 150KG |
组成
万能材料试验机是由测量系统、驱动系统、控制系统及电脑(电脑系统型拉力试验机)等结构组成。
一.测量系统
1. 力值的测量
2. 变形的测量
3. 横粱位移的测量
驱动系统
主要是用于试验机的横梁移动,其工作原理是由伺服系统控制电机,电机经过减速箱等一系列传动机构带动丝杆转动,从而达到控制横梁移动的目的。通过改变电机的转速,可以改变横梁的移动速度。
三.控制系统
顾名思义,就是控制试验机运作的系统,人们通过操作台可以控制试验机的运作,通过显示屏可以获知试验机的状态及各项试验参数,若该机带有电脑的话,也可以由电脑实现各项功能并进行数据处理分析、试验结果打印。试验机同电脑之间的通信一般都是使用RS232串行通信方式,它通过计算机背后的串口(COM号)进行通信,此技术比较成熟、可靠,使用方便。
四.电脑
用来采集和分析数据,进入试验界面后,电脑会不断采集各样试验数据,实时画出试验曲线,自动求出各试验参数及输出报表。
设备特点
1、采用高精度、全数字调速系统及精密减速系统,驱动精密丝杠副进行试验,实现试验速度的大范围调节,试验过程噪音低、运行平稳。
2、可选用万向节十字插销结构,一方面便于试样夹持,保证试验同心度,另一方面很好的消除了不规则试样对传感器的影响。
3、Windows操作系统,人性化操作界面,可显示试验方法选择界面、试验参数选择界面、试验操作及结果显示界面和曲线显示界面,并可实时显示各参数曲线,便于试验数据分析,过程监控。
4、可实现试样装夹时横梁快慢升降调整,具有过流、过压、过载等保护装置。
5、配置打印机,可直接实现试验过程的控制及数据的存储、打印。
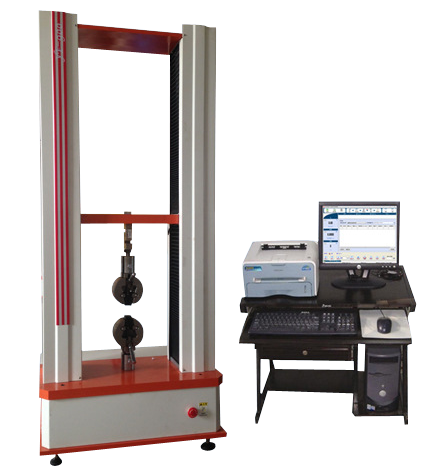
开关机注意事项:
1开机时主机和计算机的开机顺序会影响计算机的通讯初始化设置,所以务必请用户严格按照上述开机顺序进行。
2每次开机后要预热5分钟,待系统稳定后,才可进行试验工作。
3如果刚刚开机,需要再开机,至少保证1分钟的间隔时间。
4在更换夹具后,首先要注意调整好可调挡圈(上下限位开关)。
5尤其在用小力值传感器做试验时,一定要调整好可调挡圈的位置,以免操作失误而损坏小力值传感器。不要超过传感器的额定量程。
6任何时候都不能带电插拨电源线,否则很容易损坏电气控制部分。
7试验过程中,不能远离试验机。
8试验过程中,除停止按键和急停开关外,不要按控制盒上的其它按键,否则会影响试验。
9试验结束后,一定要关闭所有电源。
10本计算机是专门用于试验机控制和数据处理的,请勿在计算机内安装其它应用软件,以免试验机应用软件不能正常运行。
11计算机要严格按照系统要求一步一步退出,正常关机,否则会损坏部分程序,导致软件无法正常使用。
12不要使用来历不明或与本机无关的软盘在试验机控制用计算机上写盘或读盘,以免病毒感染。
It can conduct tensile, compressive, bending, tearing, 90 ? peeling, 180 ? peeling, shear, adhesive force, pull-out force, elongation at extension and other tests on rubber, plastic, non-woven fabric, textile, nylon, fiber, nanomaterials, polymer materials, polymer materials, polymer materials, composite materials, packaging tapes, paper, wires and cables, fiber optic cables, seat belts, safety belts, leather belts, shoes, tapes, polymers, spring steel, bearing steel, stainless steel (and other high hardness steels), castings, steel plates, steel strips, non-ferrous metals, automotive parts, alloy materials and other non-metallic and metallic materials.
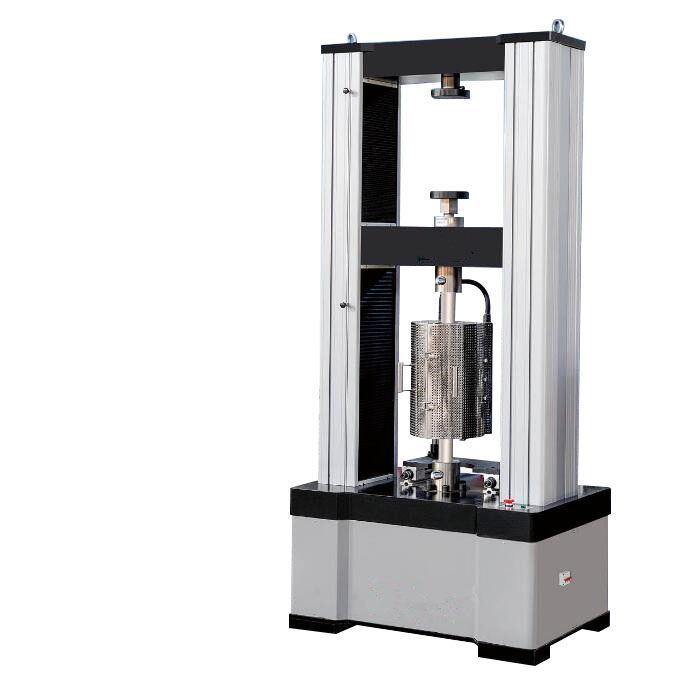
Main technical indicators:
Number Project Parameters
1. Maximum test force 0-300KN
2 Accuracy Level 1
3. The allowable error limit of the test force indication is within ? 1% of the indication value
4 Load measurement range 2% to 100% FS of full scale
5. Resolution of test force indication: 1/200000 of the maximum test force
6 Deformation measurement range 2-100% FS
Within ? 0.5% of the maximum error limit of 7 deformation readings
1/200000 of the maximum deformation resolution of 8 deformations
Within ? 0.5% of the displacement indication limit error
10 displacement resolution 0.01mm
When the adjustment accuracy rate of 11 constant displacement control is less than 0.1% FS, it is within ? 2% of the set value; When the rate is greater than 0.1% FS, it is within the set value of ? 0.5%/? 1%
12 displacement speed adjustment range 0.05-300mm/min
When the displacement rate control accuracy is less than 1mm/min, it should be within ? 1% of the set value. When the rate is ≥ 1mm/min, it should be within ? 0.5% of the set value
14 Effective Stretching Space Distance 700mm
The external dimensions of the 15 device host are length x width x height=850 x 650 x 1900 (mm)
16 Software and User Interface: Software and Interactive Human Computer Dialogue Operating Interface in WINDOWSXP Operating Environment
17 power supply, power 220V, 50Hz, 1000W
18 weight 150KG
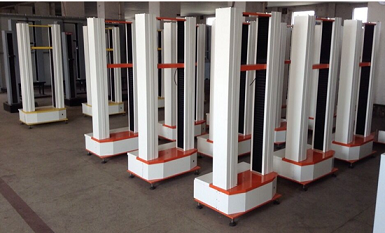
form
The universal material testing machine is composed of a measurement system, a drive system, a control system, and a computer (computer system type tensile testing machine).
One Measurement system
1. Measurement of force value
2. Measurement of deformation
3. Measurement of transverse beam displacement
Drive system
It is mainly used for the movement of the crossbeam of the testing machine, and its working principle is controlled by a servo system to drive the motor. The motor drives the screw to rotate through a series of transmission mechanisms such as a gearbox, thus achieving the purpose of controlling the movement of the crossbeam. By changing the speed of the motor, the movement speed of the crossbeam can be altered.
III Control system
As the name suggests, it is a system that controls the operation of a testing machine. People can control the operation of the testing machine through the operation console, and the status and various test parameters of the testing machine can be obtained through the display screen. If the machine is equipped with a computer, it can also achieve various functions and perform data processing, analysis, and printing of test results. The communication between the testing machine and the computer is generally done using RS232 serial communication, which communicates through the serial port (COM number) behind the computer. This technology is relatively mature, reliable, and easy to use.
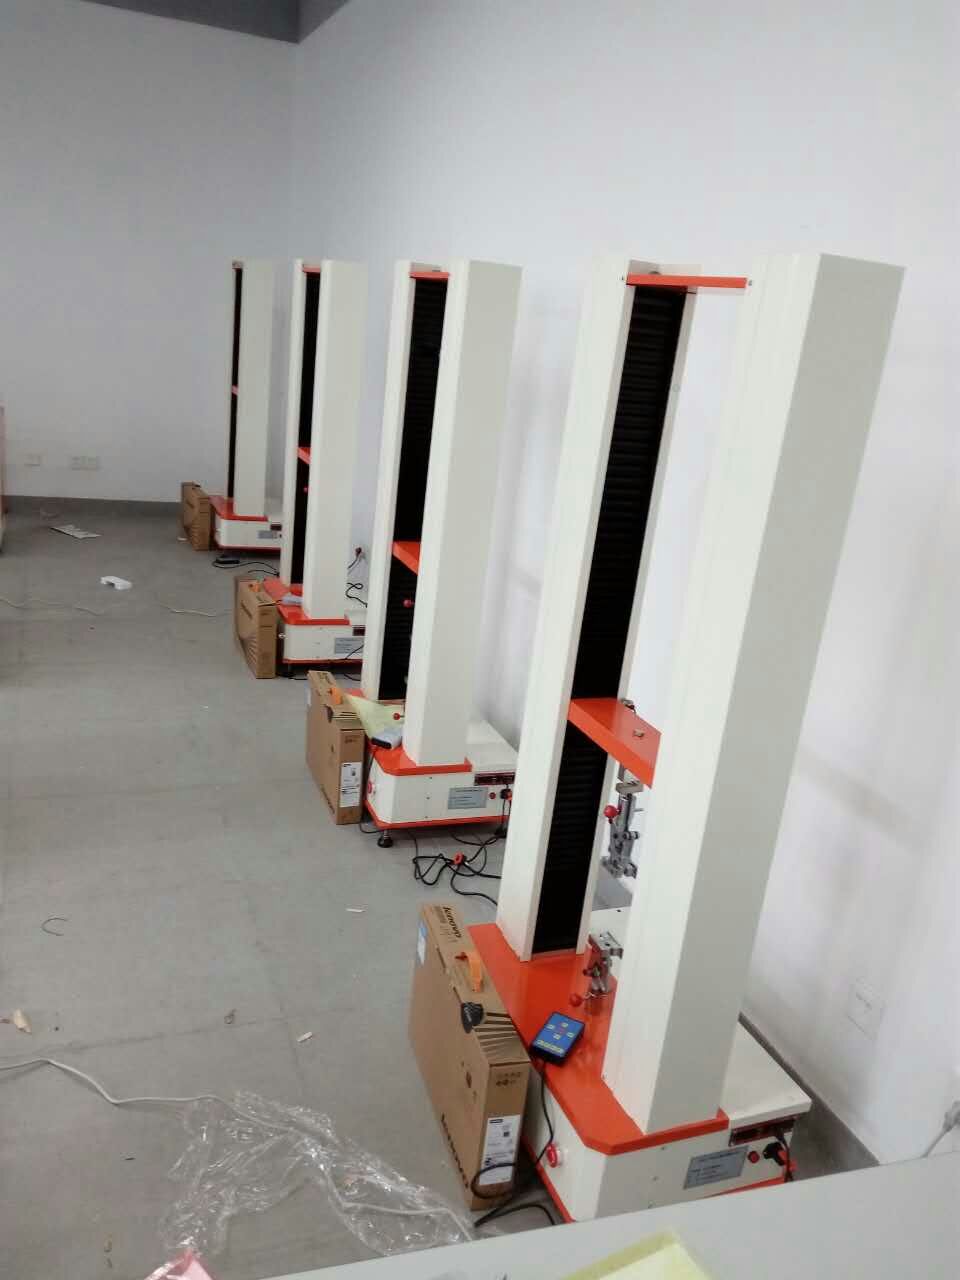
4 Computer
Used to collect and analyze data, after entering the experimental interface, the computer will continuously collect various experimental data, draw real-time experimental curves, automatically calculate various experimental parameters and output reports.
Equipment features
1. Using high-precision, fully digital speed regulation system and precision reduction system, the precision screw pair is driven for testing, achieving large-scale adjustment of testing speed, low noise and smooth operation during the testing process.
2. The universal joint cross pin structure can be used, which is convenient for sample clamping, ensures the concentricity of the test, and effectively eliminates the influence of irregular samples on the sensor.
3. The Windows operating system has a user-friendly interface that can display test method selection interface, test parameter selection interface, test operation and result display interface, and curve display interface. It can also display real-time parameter curves for easy analysis of test data and process monitoring.
4. It can adjust the fast and slow lifting of the crossbeam during sample clamping, and has protective devices for overcurrent, overvoltage, overload, etc.
5. Configure the printer to directly control the experimental process and store and print data.
Precautions for power on/off:
The startup sequence of the host and computer during startup will affect the communication initialization settings of the computer, so users must strictly follow the above startup sequence.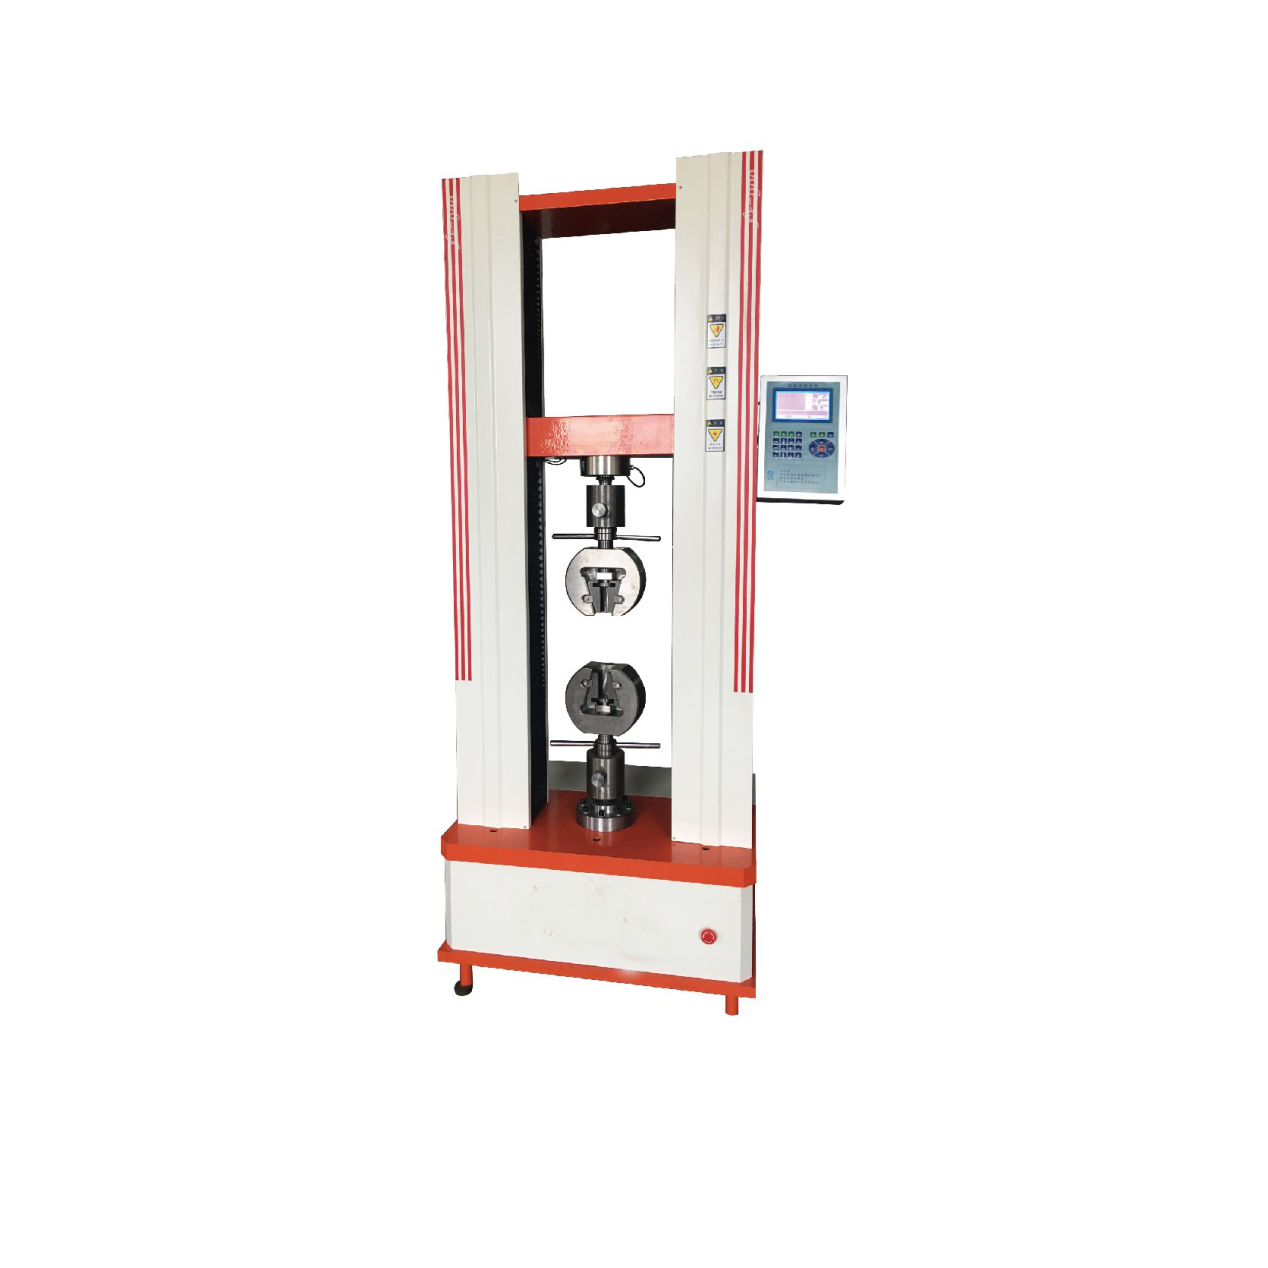
After each startup, preheat for 5 minutes until the system stabilizes before conducting the test work.
If it has just been turned on and needs to be restarted, ensure at least a 1-minute interval.
After replacing the fixture, first pay attention to adjusting the adjustable retaining ring (upper and lower limit switches).
Especially when conducting experiments with small force sensors, it is important to adjust the position of the adjustable retaining ring to avoid damaging the small force sensor due to operational errors. Do not exceed the rated range of the sensor.
Never plug or unplug the power cord with electricity at any time, otherwise it is easy to damage the electrical control part.
During the experiment, do not stay away from the testing machine.
During the experiment, except for the stop button and emergency stop switch, do not press any other buttons on the control box, otherwise it will affect the experiment.
After the experiment, be sure to turn off all power sources.
The 10 computers are specifically designed for control and data processing of the testing machine. Please do not install any other application software on the computer to prevent the testing machine application software from running properly.
Computers must strictly follow the system requirements to exit step by step and shut down normally, otherwise it may damage some programs and cause software to not function properly.
Do not use floppy disks of unknown origin or unrelated to this machine to write or read disks on the control computer of the testing machine, in order to avoid virus infection.
注意事项1、该仪器初始的包装材料需小心保存,安装需由本公司的专业技术人员进行操作。2、若仪器由于任何原因必须返修,必须将其装入原纸箱中以防运输途中损坏。3、在开机前,操作者要首先熟悉操作方法。
关于仪器质保:1、北广仪器保证提供的设备为需方指定的全新设备,其各项技术指标均符合相关的产品技术要求。2、设备经客户验收合格后,开始计算保修期,设备免费保修期为壹年,设备在质量保质期内,产品在非人为损坏的情况下,由北广仪器负责全保。北广仪器的客服在得到通知后24小时内响应,安排约定维修细节。3、质保期后,我们免费为您维修维护设备,除大型设备外所有设备一律返厂维修,经检验后,电话告知客户问题所在及解决方式,经客户同意后进行维修,维修后发回客户,对于损坏及更换的零部件我们只收取成本费;如客户不认同我们的检验结果,双方另协商维修细节。
业务咨询:932174181 媒体合作:2279387437 24小时服务热线:15136468001 盘古机械网 - 全面、科学的机械行业免费发布信息网站 Copyright 2017 PGJXO.COM 豫ICP备12019803号